The posterior chain is your body’s engine room—and most people barely tap into it.
Whether you’re lifting at the gym, sprinting on the field, or just trying to avoid back pain, the hip hinge is one of the most powerful (and most butchered) movement patterns in training.
You’ll see athletes deadlifting heavy but compensating with their spine. Adults doing kettlebell swings with tight backs and weak glutes. And plenty of people skipping hinge work altogether—because it feels awkward, risky, or just plain hard.
But if you want to build strength that lasts, protect your spine, and train your body the way it was designed to move—you need to own your hinge.
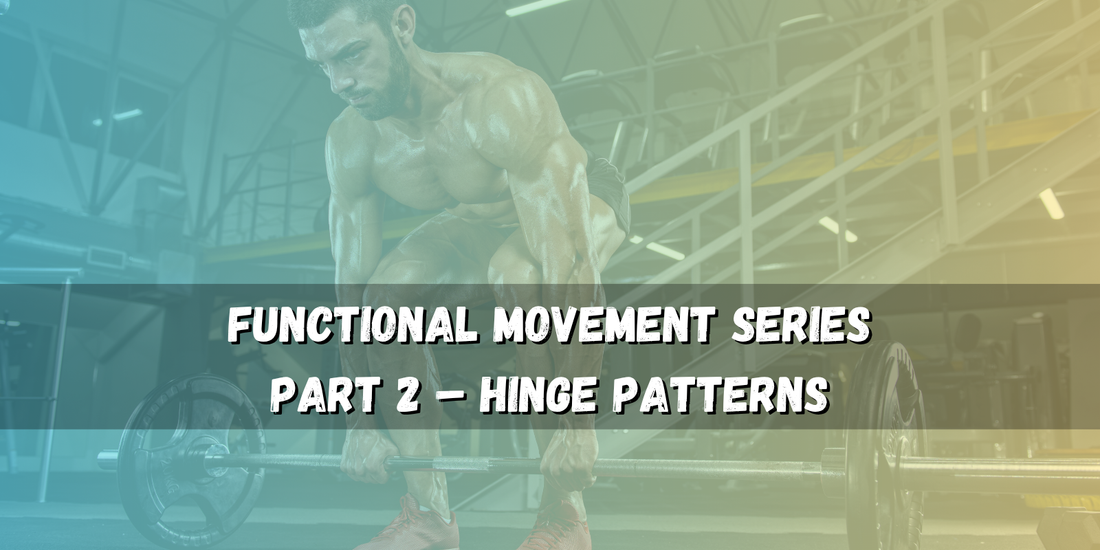
In Part 2 of the Functional Movement Series, we’re breaking down what a proper hip hinge actually looks like, which muscles it should be training, and how to spot the most common mistakes that lead to pain or poor performance. You’ll learn how to assess and improve your mobility, stability, and motor control—and we’ll walk you through the best exercises to rebuild your hinge pattern from the ground up.
Here’s how the full series looks:
- Part 1: Squat Patterns — Improve your base of support
- Part 2: Hinge Patterns — Protect your back, train your glutes
- Part 3: Push Patterns — Press with power and control
- Part 4: Pull Patterns — Strengthen your back and posture
- Part 5: Lunge Patterns — Fix imbalances and build stability
- Part 6: Carries & Holds — Train your core and full-body strength
- Part 7: Rotation & Anti-Rotation — Build control through your core
- Part 8: Jump, Land & Move — Tain power and athletic movement
Let’s dive into the next one: Hinge Patterns.
WHY THE HINGE PATTERN MATTERS
The hinge is the foundation of power, posture, and posterior chain strength. It’s how your body bends, lifts, and moves explosively—without overloading your spine.
You hinge every time you:
- Pick something off the ground
- Deadlift, swing, or jump
- Run, sprint, or change direction
- Lift groceries or carry your kid
- Bend over to tie your shoes
If your hinge is weak or poorly trained, your body compensates—and that usually means low back pain, poor glute function, or quad dominance.
WHAT DEFINES A FUNCTIONAL HINGE?
A proper hip hinge is a hip-dominant movement, not a squat or a spinal fold.
In a functional hinge:
- Hips move back while the spine stays neutral
- Knees stay slightly bent, not deep like a squat
- Glutes and hamstrings load, stretch, then fire to extend the hips
- Spine remains neutral, no flexing or rounding
- Weight stays over the mid-foot, not on toes or heels
The goal is to hinge from the hips, not fold from the spine.
WHAT A HINGE SHOULD TRAIN
When done correctly, hinge patterns develop:
- Glutes – Hip extension power
- Hamstrings – Eccentric strength and joint protection
- Adductors – Stabilization through hip motion
- Spinal erectors – Postural integrity
- Core – Anti-flexion and bracing under load
- Grip – Often challenged through carries and deadlift variations
COMMON HINGE LIMITATIONS
Here are the most common issues I see when assessing hinge mechanics:
- Rounding the back – Lack of core engagement or hamstring length
- Squatting instead of hinging – Knee-dominant strategy due to poor motor patterning
- Hyperextending the spine at the top – Overcompensating for poor glute engagement
- Shifting into toes – Poor posterior chain activation or lack of cueing
- Tight hamstrings or low back pain – Often a sign of compensation, not actual tightness
WHAT THE HINGE REQUIRES
To perform a safe and powerful hinge, your body needs:
1. Mobility
- Hamstring length: Can you reach your hips back while keeping a neutral spine?
- Hip internal & external rotation: Essential for loading evenly and avoiding compensation
- Thoracic extension: Especially under load (RDLs, deadlifts, carries)
2. Stability
- Core bracing: Can your spine stay neutral while the hips move?
- Shoulder packing: Especially for loaded hinges like deadlifts or swings
- Foot connection: Stable contact with the ground to resist wobble or drift
3. Motor Control
- Can you isolate hip movement without your knees or spine taking over?
If you feel your low back working more than your glutes—you’re not hinging properly.
HOW TO IMPROVE YOUR HINGE PATTERN
Step 1: Pattern the Hinge First
Use these tools to build awareness:
- Wall Hinge Drill – Stand 6–8 inches from a wall, push hips back until you touch
- Dowel Hinge Drill – Hold a dowel along your spine (head, back, sacrum in contact) as you hinge
- Seated Band Pull-throughs – Reinforce glute engagement from a safe, unloaded position
Step 2: Improve Mobility
Add these to your warm-up or recovery work:
- Hamstring Flossing (sliders or bands) – 2x10/leg
- 90/90 Hip Lifts – 2x8
- Cat & Cow with Controlled Breathing – 1-2 min
- Dead Hangs or Wall Angels – 2x30 sec for thoracic spine
Step 3: Train the Pattern with Load
Once the pattern is clean, progress intelligently:
- Glute Bridges → Hip Thrusts – Build baseline glute control
- Kettlebell RDLs – Light load, feel the stretch, maintain posture
- Trap Bar Deadlifts – Great for newer lifters or athletes
- Romanian Deadlifts (RDLs) – Deep hamstring loading and eccentric control
- KB Swings – Advanced hinge for power and conditioning
- Suitcase Carries or Farmer's Walks – Train the hinge muscles to stabilize under movement
SAMPLE HINGE WARM-UP (DAILY PREP)
Use this to prep for deadlift, glute, or posterior chain days:
- Foam Roll Hamstrings & Glutes – 1 min each
- 90/90 Hip Transitions + Lifts – 2x10
- Wall Hinge Drill – 2x10
- Cat & Cow + Controlled Breathing – 1-2 min
- Band Pull-throughs or Glute Bridges – 2x10
- KB RDLs (light) – 2x8 with slow tempo
FINAL TAKEAWAY
If squats build your base, hinges build your engine.
You don’t need to be a powerlifter to hinge—you need to be a human who moves pain-free, lifts confidently, and protects their spine for life.
Don’t let poor mechanics or weak glutes hold you back. Own your hinge, and you’ll unlock strength that actually translates.
WANT HELP FIXING YOUR HINGE?
We’re offering new clients a special bonus:
- ✅ 1 Free Movement Screening (online or in-person)
- ✅ 1 Free Week of Functional Training Access
- ✅ 15% Off Peak Supplements (to support joints, strength, and recovery)
Ready to rebuild your hinge and feel the difference? Enter your email below to get your special offer!
If you found this article helpful, don’t forget to:
- Like and share this post with your teammates and fellow rugby fans
- Bookmark the blog to stay updated on the next rounds
- Follow @gopeakrugby on X and Facebook and subscribe to our Youtube Channel for more rugby analysis, match recaps, and insights